Automated Operation System Installation with Kickstart
After every clean anaconda based OS install, there is a single file under the /root/ , named anaconda-ks.cfg. Ever wondered what is that about? Kickstart is a config file format designed to automate the installation of an operating system with anaconda installer.
After every clean anaconda based OS install, there is a single file under the /root/ , named anaconda-ks.cfg. Ever wondered what is that about?
1. What is Kickstart? #
Kickstart is a config file format designed to automate the installation of an operating system with anaconda installer. Many major distributions use anaconda, including but not limited to Centos, Fedora, Redhat, Oracle Linux, Scientific Linux, and Qubes OS.
Every decision you make at installation over the anaconda GUI is written to a Kickstart file. At the last stage of the install, anaconda reads from this file, and the installation happens. After the install, this file is left behind at /root/anaconda-ks.cfg. By inspecting this file, we can learn how that particular operating system was installed.
With a proper Kickstart file, OS installation gets completely automatic. In other words, mount the ISO, reboot, and get a coffee.
2. How to configure Kickstart? #
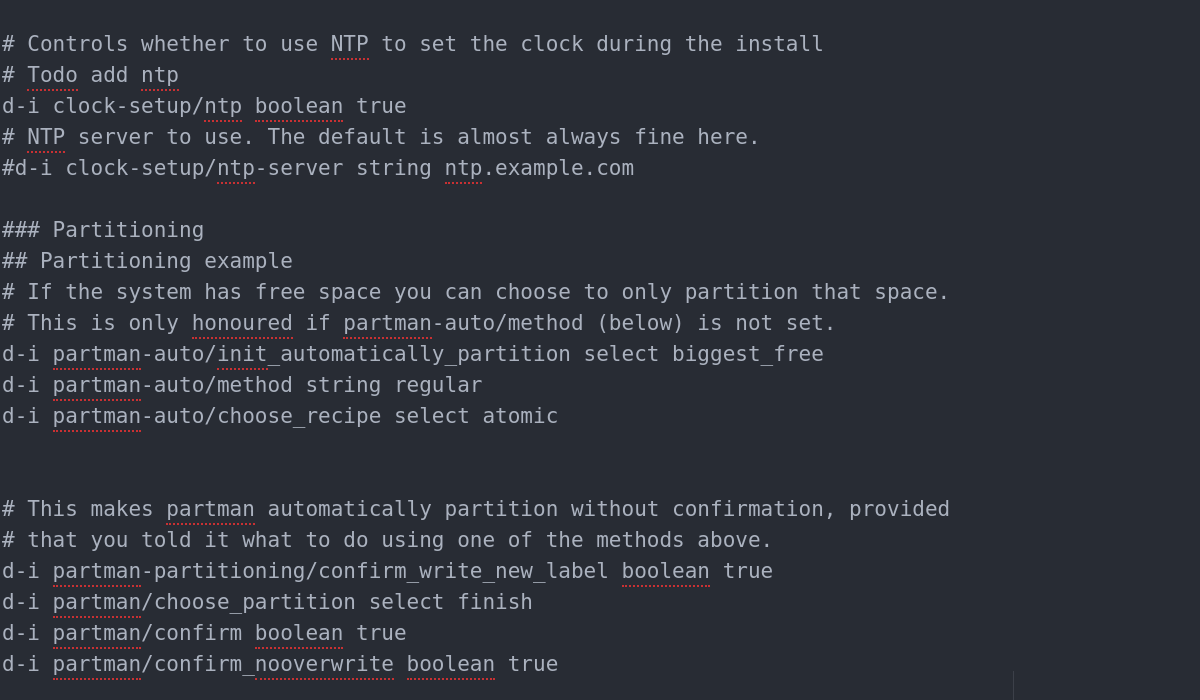
As every config file in the Linux, its a plain text file, we can edit this file with any given text editor. The file has pretty straight syntax. Before testing your Kickstart file, don't forget to check your configs with ksvalidator. Its a part of pykickstart package. Details of the kickstart syntax are available on official documentation.
2.1 General Configuration #
The following configuration sets up:
- Sets keyboard layout to US
- Sets root password to X
- Disables crony service
- Disables SELinux
- Halts the computer after installation
- Writes bootloader to MBR
- Sets timezone
- Installs core packages
Example configuration file:
# platform=x86, AMD64, or Intel EM64T
# version=DEVEL
# Install OS instead of upgrade
install

# Keyboard layouts
keyboard 'us'

# Root password
# System language

lang en_US

# Firewall configuration

firewall --disabled

# System authorization information

auth --useshadow --passalgo=sha512
rootpw X

services --disabled=chronyd

# SELinux configuration
selinux --disabled

# Do not configure the X Window System
skipx

# Halt after installation
halt

# System timezone
timezone --utc America/New_York

# System bootloader configuration
#bootloader --location=mbr

%packages --ignoremissing
@core
%end
We can also setup partitions and LVM structures with Kickstarter:
part /boot --size=1024
part pv.01 --fstype="lvmpv" --ondisk=sda --size=1 --grow
volgroup vgroot pv.01
logvol swap --fstype=swap --name=swap --vgname=vgroot --size=512
logvol / --fstype ext4 --name=root --vgname=vgroot --size=2048 --grow
If we were to create Kickstart files to provision a large server pool with identical servers achieving one-click installation is easy. When dealing with a server pool with different server types, it would be better to do disk partitioning by hand. If the disk partition settings not found in the Kickstart file, anaconda GUI launches up and asks the user to set up disks.
2.2 Post Scripts #
After installation, we can run a nochroot shell to copy related files to new location. Commands with nochroot are run from installation environment. "/mnt/sysimage/" is the "/" of the new installation:
%post --nochroot
cp -rv /run/install/repo/Packages/extra /mnt/sysimage/root/
%end
If you don't specify --nochroot, commands are run in the installed system instead of installation environment. We can also specify a log location:
%post --log=/root/ks-post.log
yum -y localinstall /root/extra/*.rpm
# Add nfs repo
mkdir -v /repo
echo "172.18.18.18:/repo     /repo  nfs    ro     0      0" >> /etc/fstab
rm -rfv /etc/yum.repos.d/*.repo
cp -v /root/extra/configs/*.repo /etc/yum.repos.d/
cp -v /root/extra/configs/ntp.conf /etc/ntp.conf
# Termite support
tic -x /root/extra/configs/termite.terminfo
yum -y update
%end
This scripting capability can also be leveraged to apply ansible roles. Just trigger your ansible role from the end of the post-script.
%post --nochroot
ansible-playbook ansible_kickstart.yml
%end
This postscript examples only works with custom ISO file as they require extra files in ISO.
2.3 Configuration with GUI #
For the people with CLI phobia, there is also a GUI Kickstart Configurator(system-config-kickstart) which allows the point and click configuration.
This tool is good for basic usage, yet some advanced capabilities are missing from the GUI tool at the moment.
3. How to trigger a Kickstart installation #
To use this file, we need to have this file present at the boot of installation. The location of the file needs to set as a boot parameter. There are many methods for serving this file.
3.1 File From Network #
If you prepared your file this is the fastest way of using a Kickstart file.
Pros:
- Easy to change and manage the files
- Gitlab or similar version tracking system can help you manage your revisions and serve the file at the same time
- The fastest way to use an existing kickstart file
Cons:
- Does not work without a network
- Hard to use with static IP
- Has security considerations
- Possibility of a version mismatch between the anaconda and Kickstarter config
For this to work, we need our server needs an IP before the installation. If you have DHCP, this is pretty easy. If not, you need to configure the network by hand in a boot parameter. Given that we have DHCP , we can trigger a kickstart file over by adding the following lines to boot parameters:
ks=nfs:192.168.1.11:/export/kickstart/webserver.ks
We can also use HTTP instead of NFS:
ks=http://192.168.1.11/printserver.ks
For some systems, "inst.ks=" instead of "ks=" is used.
3.2 Kickstart embedded iso #
Another way is building a custom ISO with the Kickstart file in it. The path of the file needs to be in the boot parameters.
Pros:
- Does not depend on network
- Completely automated, all you have to do is mount the ISO
Cons
- Requires some effort to create the embedded ISO image
- To change anything Kickstart config, we must recreate the ISO image
To create such an ISO, we need to start with and official iso. We are using CentOS-7-x86_64-Minimal-1708.iso for the example. We need to create some folders, mount the ISO and copy all the files into a new location, and put your Kickstart file into the new location:
mkdir iso tmpiso
mount -t iso9660 -o loop CentOS-7-x86_64-Minimal-1708.iso iso/
mount: /home/storage/projects/kickstarts/poststart/iso: WARNING: device write-protected, mounted read-only.
rsync -avHl iso/ tmpiso/
cp kickstart.ks tmpiso/
We can also put extra files in your ISO and use them in the postscripts.
cp -rv extrafiles tmpiso/extra/UEFI and bios system have different ISO creation procedures. Follow the proper steps.
3.1.1 BIOS Based Steps #
The boot of the BIOS image triggered by isolinux. In the isolinux.cfg every group of lines start with "label" represents a specific boot entry. The default boot entry used at bios boot is "label linux".
In the tmpiso folder, edit the tmpiso/isolinux/isolinux.cfg
label linux
menu label ^Install CentOS 7
kernel vmlinuz
append initrd=initrd.img inst.stage2=hd:LABEL=CentOS7 ks=cdrom:/dev/cdrom:/ks.cfg quiet
This is a great config for CDrom based installations, works fine with most virtualization platforms as far as your image gets mounted as CDROM. But if you were to install a bare-metal over a remote console, this boot entry might not be reliable.
Remote consoles like IDRAC and ILO used to be very picky about their java versions and were very slow. Things are getting better as the newer web-based consoles. Both new and old generations use virtual physical devices instead of real CDROMs to mount ISO files. The /cdrom:/ks.cfg can fail because of this. For such cases, we need a label based entry in the last line.
append initrd=initrd.img inst.stage2=hd:LABEL=CentOS7 quiet ks=hd:LABEL=CentOS7:/ks.cfg
While we are there, we can also change the tmpiso/isolinux/splash.png with a custom boot image.
After editing this file, we are ready to create an bootable disk image.
mkisofs -o centos.iso -V 'CentOS7' -b isolinux/isolinux.bin -c isolinux/boot.cat -no-emul-boot -boot-load-size 4 -boot-info-table -R -J -v -T tmpiso/

3.02a09 (x86_64-unknown-linux-gnu)
 Scanning tmpiso/
 Scanning tmpiso/images
 Excluded: tmpiso/images/TRANS.TBL
 Scanning tmpiso/images/pxeboot
 .
 .
 Max brk space used a7000
 469761 extents written (917 MB)
This command creates a file called centos.iso, to sign this iso with its own md5 signature, another command is required
3.1.2 UEFI Based Steps #
For UEFI boot of GRUB bootloader is used. Every group of line start with "menuentry" represents a certain boot entry. Default boot entry used is menuentry 'Install CentOS 7' ". "inst.ks=hd:LABEL=CentOS\x207\x20x86_64:/ks.cfg needs to be added to this config for kickstart.
menuentry 'Install CentOS 7' --class fedora --class gnu-linux --class gnu --class os {
  linuxefi /images/pxeboot/vmlinuz inst.stage2=hd:LABEL=CentOS\x207\x20x86_64 quiet inst.ks=hd:LABEL=CentOS\x207\x20x86_64:/ks.cfg
  initrdefi /images/pxeboot/initrd.img
 }
Later ISO can be generated with:
genisoimage -V "CentOS 7 x86_64" -A "CentOS 7 x86_64" -o uefi.iso -joliet-long -b isolinux/isolinux.bin -c isolinux/boot.cat -no-emul-boot -boot-load-size 4 -boot-info-table -eltorito-alt-boot -eltorito-boot images/efiboot.img -no-emul-boot -R -J -v -T tmpiso/In our example, both images used the disk label, "CentOS 7 x86_64". Changing the disklabel prevents ISO from booting correctly.
3.1.3 Adding MD5 signature #
After both methods, we need to implement md5sum of the ISO file in the new image.
implantisomd5 centos.iso
 Inserting md5sum into iso image...
 md5 = 490d2cb60acbc313ef4a00b74c1ff194
 Inserting fragment md5sums into iso image...
 fragmd5 = bc49b281ad4c161dbd8cf3842366e46e4661ffa9d3275771a4efc9b285f3
 frags = 20
 Setting supported flag to 0
Now the ISO file is ready for Kickstart installation.